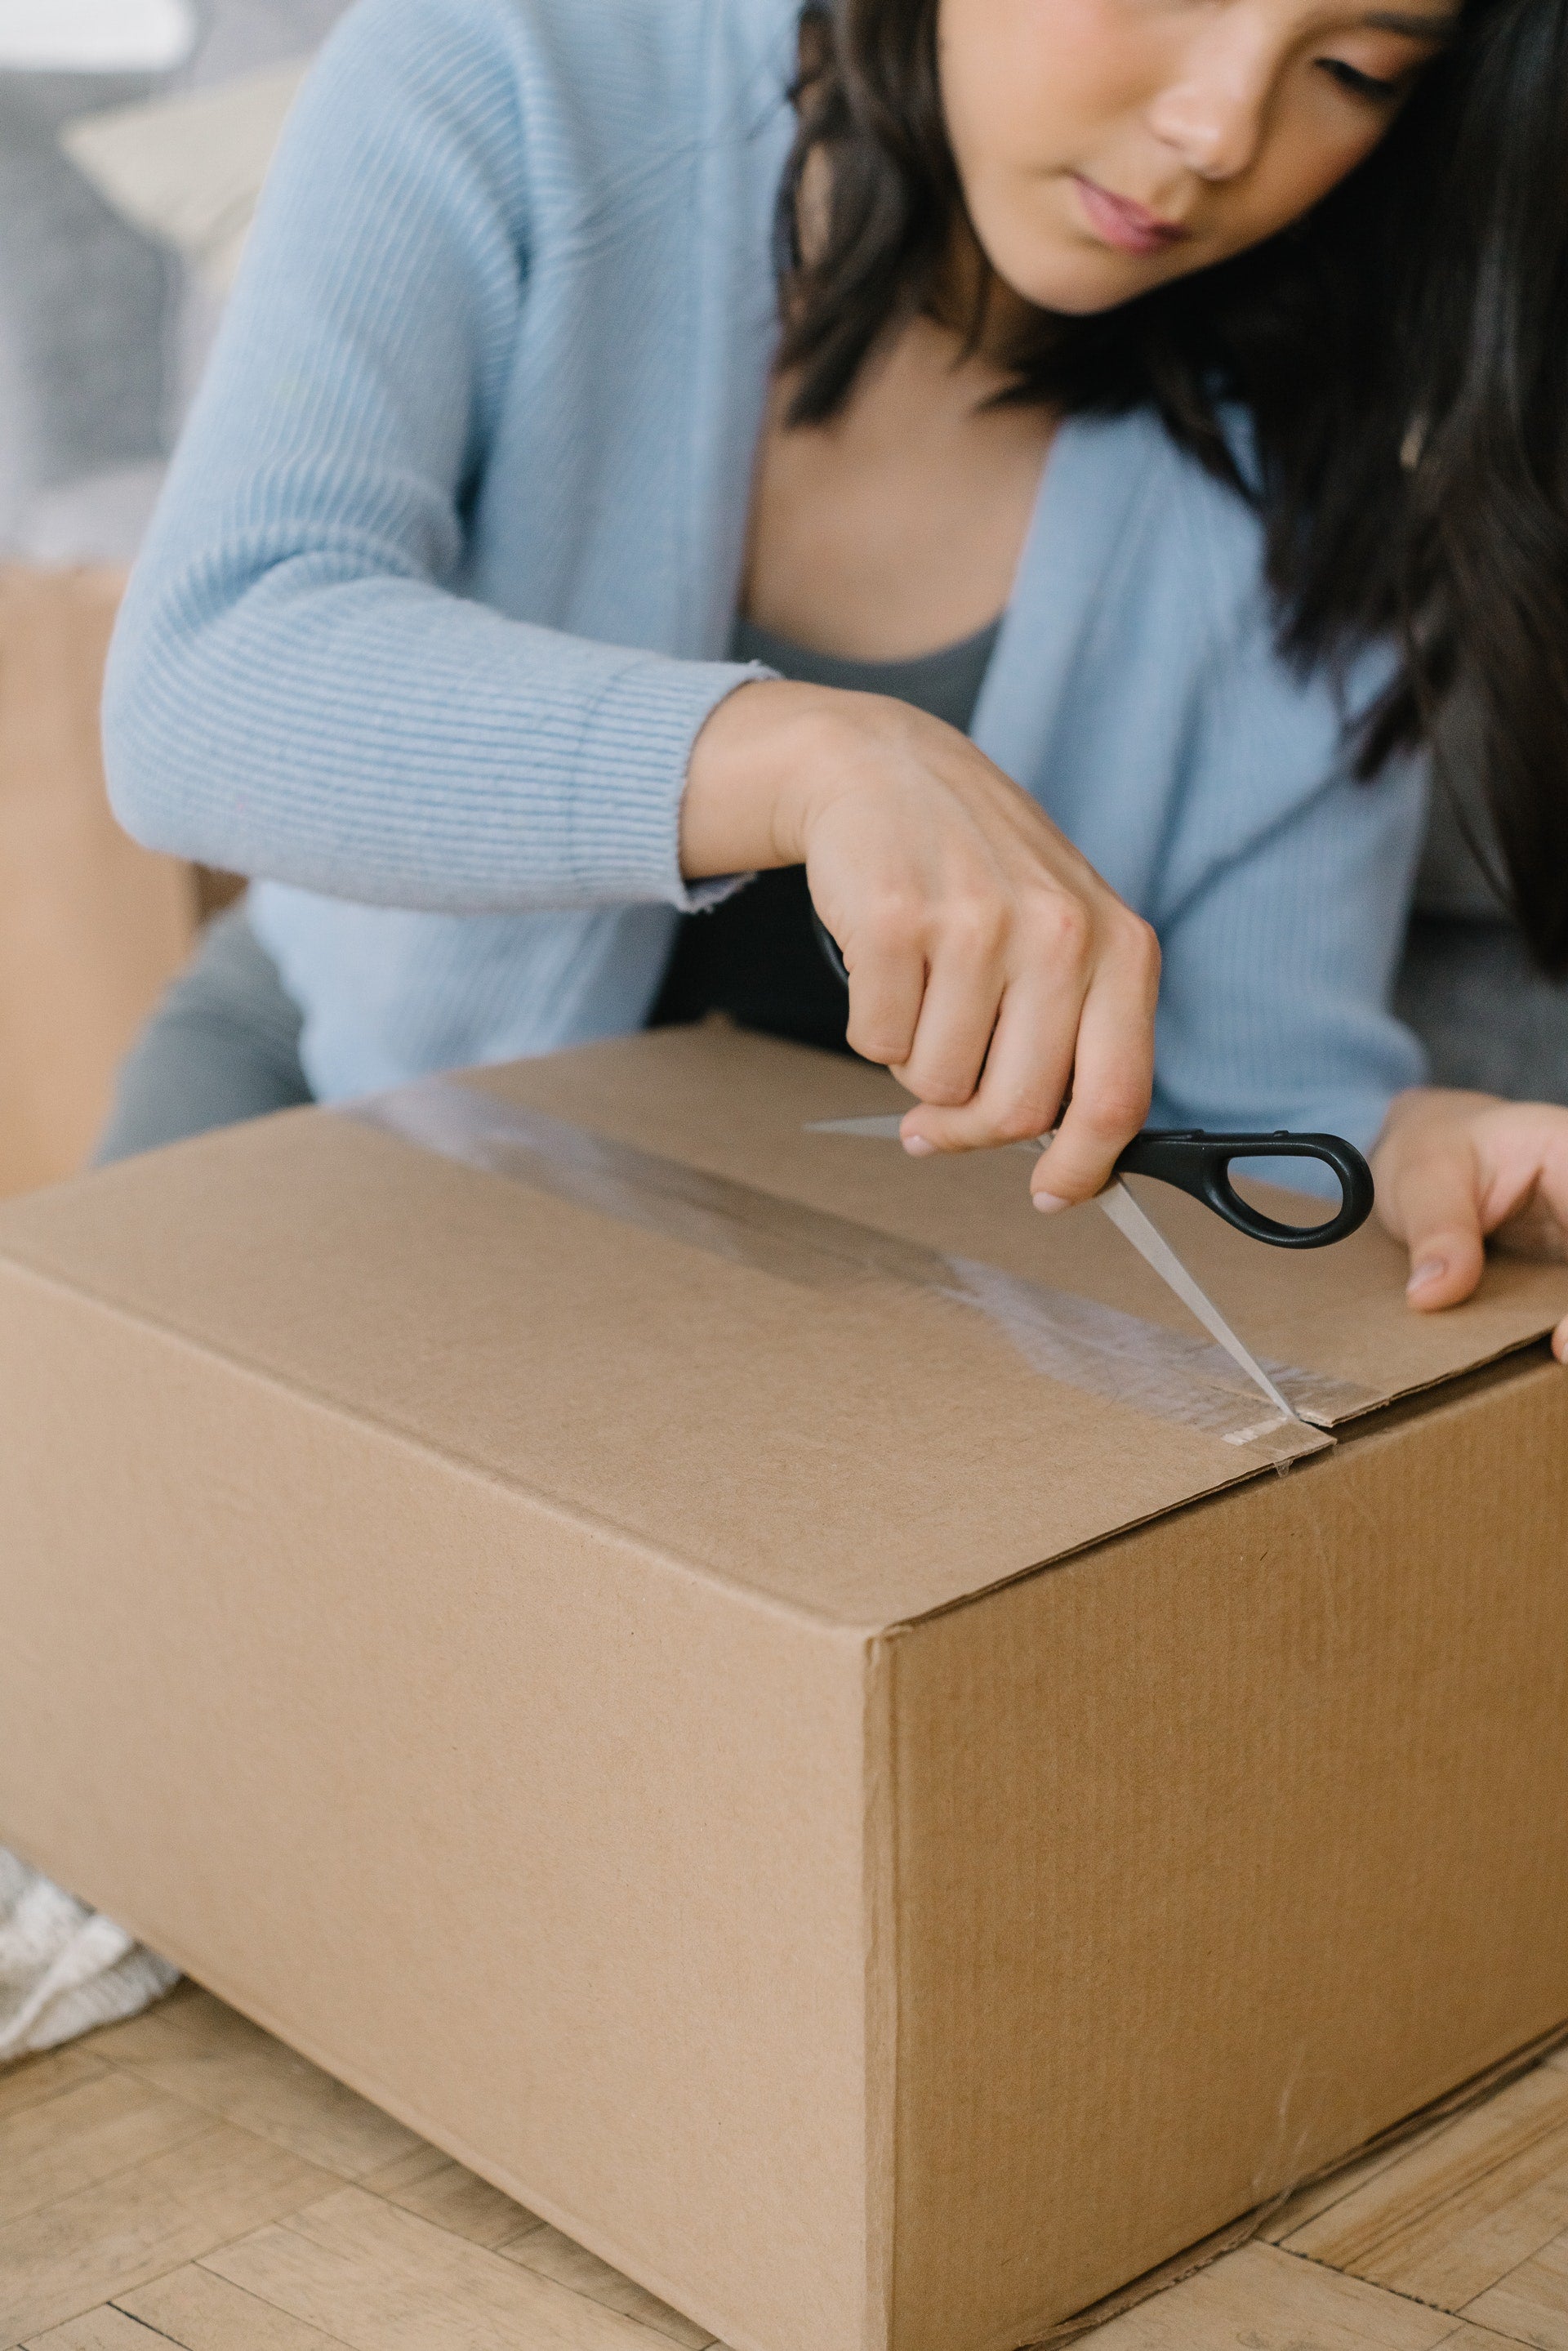
If you’ve set up your 3D printer on your desk and installed the software program into your computer, does that mean you can start your first 3D printing project? Not just yet. To ensure that your first print is a success, you still have things to do to make sure that your 3D printer is ready. Here are 5 beginner tips for those who have just bought a 3D printer.
1. Level your bed
The print bed goes uneven now and then, so you must check it before starting any 3D printing project. A levelled bed is the key to successful prints. Some 3D printers have an auto bed levelling feature, while the others have to be manually levelled.
For those that have to be manually levelled, don’t fret as it is quite easy to do it. Here are the steps:
- Heat the nozzle and bed as if you’re starting a new print. This is important as metal expands when heated, making your adjustments more accurate. Just let it heat up for a few minutes.
- Home the printer so that the printhead returns to the 0,0,0 position. This process determines how high the printer should position the build plate at the beginning of the print and where the extruder will start the print.
- Check if your printer has the option called Bed Tramming, Bed Leveling, or Level Corners. This will move the print head around the four corners of the bed while you adjust the springs underneath the bed. Do this for all the corners and the centre of the bed.
- To check if the nozzle is at the right height, insert a paper under the nozzle and raise or lower it until it no longer touches the paper.
2. Ensure that the print bed is clean and sticky
Keeping the print bed clean ensures that the extruded filament will adhere to it, giving your prints a stable first layer. The print bed could have dust, residue, and oils when a 3D printer is new, so you have to clean it before starting printing. You can use 91% isopropyl alcohol and paper towels to wipe the print bed before and after using it. This will allow more bed adhesion during printing. However, some filaments require bed adhesives to stick to the bed. We recommend using Dimafix, EasyFix Adhesives (for specific filaments), and build tapes (for FlashForge printers).
3. Keep the nozzle clean
New 3D printers typically come with two nozzles. The first one is already installed on the hotend and another one is a spare. You wouldn’t want to be that guy who doesn’t have a spare nozzle when you need it the most. Make sure to order several, particularly if you use brass nozzles, as these are easy to wear out, especially if you use filled filaments.
Different nozzles also have different purposes. If you want to know if you’re using the right one, check out our guide on the different widths and materials of 3D printer nozzles.
4. Store your filaments properly
Filaments require proper storage to lengthen their lifespan. Some filaments are hygroscopic, meaning that they absorb moisture in the air which leads to brittleness and printing issues. Leaving them lying around can also cause them to tangle which can also cause problems during printing. Make sure that you store them tightly wound in an airtight box. For tips on filament care, check out our complete guide on filament storage.
5. Find models to print
If you’ve done all these, it’s now time to start your first 3D printing project! Unless you already know CAD modelling, you probably have no idea what to print. There are plenty of sites where you can get free STL files for 3D printing. You can check out Thingiverse and Cults3D for free files.
.
Do these 5 things first after unboxing your new 3D printer!
Don’t start printing yet until you’ve done these 5 out-of-the-box tips for new 3D printers. If you’re on the lookout for new 3D printers, you can check out our Ultimaker 3D printers. For inquiries, you can contact us by phone or email.

