
DLP printing may be a beast to learn but you can tame the beast once you’ve learned the tips and techniques to print successfully. If you’re still struggling with DLP printing, here are the most common errors and how to solve them.
1. Brittle prints
If you notice that your prints are fragile, then it must be the resin’s fault. However, it doesn’t always mean that the resin is of poor quality. You may have the best resin in the world but this can still happen to you if it’s expired or overcured.
Fixes:
- Check if your resin is expired. Sometimes, the most complicated of problems can have the easiest solutions. Check if your resin is still within the use-by date.
- Shorten the cure time. Overcuring can lead to brittle prints. Aside from making the prints brittle, overcuring also leads to longer print time and rougher prints. Make sure to not undercure your prints either. Find the sweet spot in the curing time.
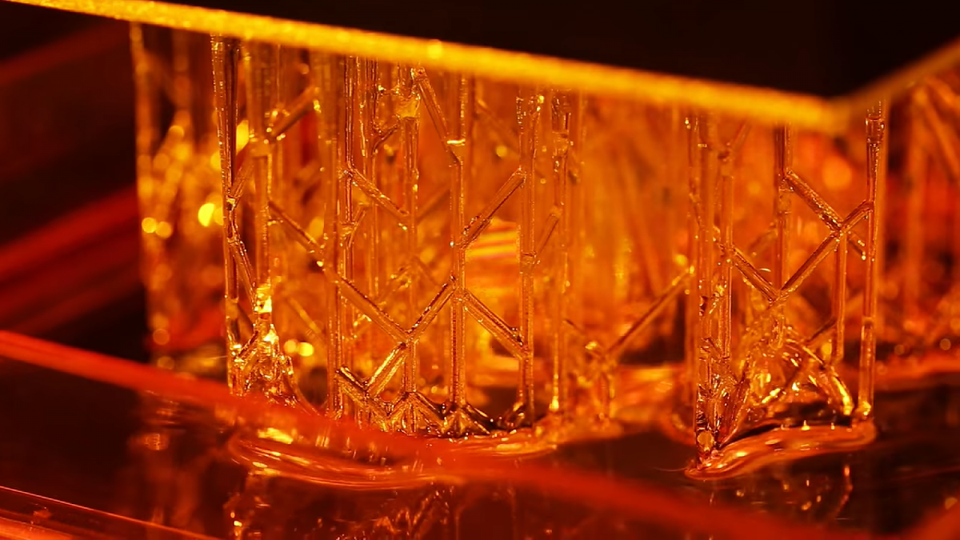
2. The print doesn’t stick to the build plate
You may be excited to see the finished print. However, once you pull up the print, you’ll see that it didn’t stick to the build plate and got stuck instead on the FEP sheet. It could be due to several reasons:
- Build plate not sticky enough or stickier than the FEP sheet
- FEP is damaged or has gotten loose
- Debris from previous prints that prevent resin from being cured to the build plate shortly after the FEP sheet.
Fixes:
- Add texture to the build plate. It could be that the print is sliding off from your build plate. To make it stick to the build plate better, evenly sand the build plate using a 20 or higher grit sandpaper. Be careful not to sand it too much by laying the sandpaper flat and just moving the build plate atop it in a circular motion in 1 to 2 minutes.
- Make sure that the build plate is leveled. Build plate leveling differs depending on the 3D printer you use. Check the manual for instructions.
- Replace the FEP sheet. If your FEP is stretched or damaged, it could get your print stuck. Getting a too thin or thick FEP can also get your print stuck. Choose either a 100- or 200-micron FEP sheet. Here’s how you can change your FEP sheet. https://www.youtube.com/watch?v=jViEQpXRNg8&feature=emb_title
- Clean the FEP, build plate, and resin. Any printing issue can be solved by cleaning the FEP, build plate, and resin. The build plate can be scraped clean by a blade while the resin can be strained to remove debris.
-
Optimise your settings to get the perfect first layer. The optimal settings vary depending on the 3D printer. However, we are recommending the following settings:
- Lift distance: 10mm
- Lower the lift speed of the first layers
- First layer height: 20 – 40 microns
- Number of first layer: 6 layers
- Layer cure time: 150 seconds
3. Print layers are separated
If your full print comes out with separated prints or does not fully form with some of the unformed parts at the bottom of the vat, it may be suffering from print layer issues. The second issue is similar to the previous one in that it got stuck on the FEP sheet due to a number of adhesion issues. It could also be caused by improper layer height, cure time or poorly supported print.
Fixes:
- Change the FEP layer. The FEP layer is the culprit yet again so you can understand how crucial its role is in the print’s success. Check it for bumps, cloudiness, and other marks. A thinner FEP could also enhance the print layer adhesion.
- Adjust the print settings. Lower layer height and higher cure time could boost the adhesion of your print layers to each other.
- Add support to your model. A poorly supported print may have trouble forming well. Make sure that it has support in places that need them and thicken the walls in affected areas.
4. Rippled print surface
Waves are good for the beach but not for your 3D prints. If you find waves running up the entire height of the print or some layers are missing, then you could be experiencing the most common 3D printing mistake. It is caused by wobbling, either from the Z-axis or the print itself. Overcuring can also be the reason.
Fixes:
- Tighten up the Z-axis. Wobbling Z-axis or more commonly known as the Z-wobble, can be easily solved by tightening the carriage on the linear trail. The nut of the Z-axis lead-screw could also be worn out
- Tweak the cure time settings of your printer. Start by reducing the cure time as longer cure times can sometimes cause ripples on the print.
Get smooth prints from here on out with these fixes to the top resin printing problems!
Resin printing is easy as long as you know what and what not to do! If you need to restock on resin or new FEP sheets, you’re in luck! Get free shipping for resin orders above $80 starting this week! For more inquiries, you can contact us by email or phone.