Calibration is a crucial part of 3D printer maintenance. It should be done regularly, in addition to bed and nozzle cleaning, to ensure that your workhorse runs smoothly. While it can seem tedious for some, it’s easier to have to go through them than suffer through failed 3D prints.
Important note about 3D printer calibration
It is important to clean your 3D printer, namely the buildplate and nozzles, to ensure that it doesn’t affect the calibration. Having dirt and debris on the nozzle and plate can distort the calibration results.
You need to also ensure that the screws are tightened to prevent any jiggling during the calibration.
1. Calibrating the first layer
Having the perfect first layer is a big part of a successful print. Setting the nozzle to the proper height is crucial to first layer printing. Too low and it will damage the first layer, too high and it will not stick to the bed and it will fail.
You can adjust the nozzle height by adjusting the Z-offset, the distance between the Z-axis to the endstop or in other words, the print head to the bed. Increase the value if the nozzle is digging into the print. Otherwise, decrease it if the layer is not sticking to the bed.
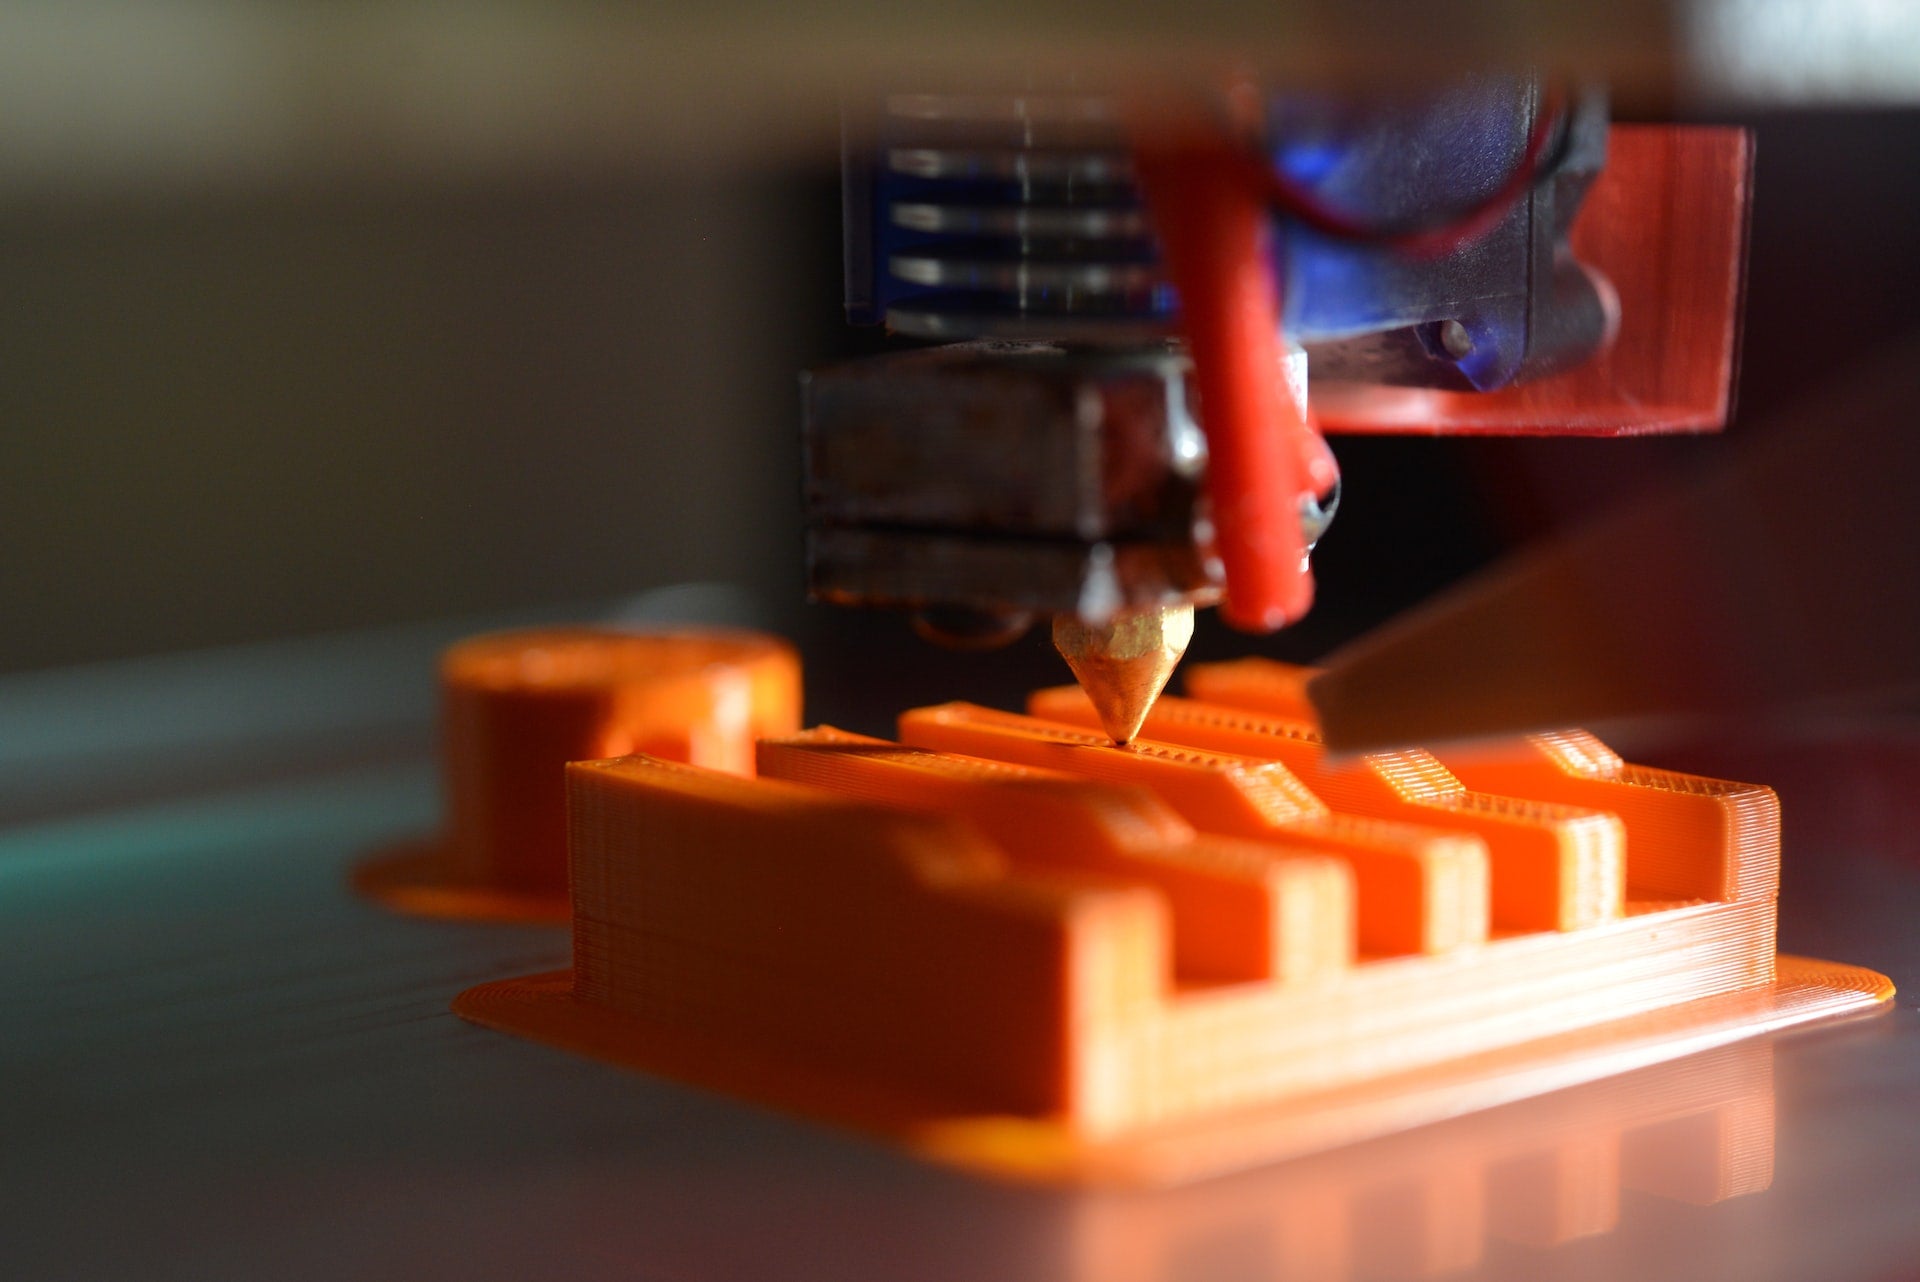
2. Calibrating the stepper motors, extruder, and axes
Stepper motors are responsible for the movement of the axes from one point to another. They work by rotating in little steps to move the axes.
Since the extruder and axes work closely with the stepper motors, their calibration should be done at the same time. Calibrating these can be a bit complicated so read carefully. You would need to send a g-code to your computer to adjust them.
Step 1: Compute the values
- Find out the settings of your printer. Ex. Steps per unit: M92 X100.00 Y100.00 Z400.00 E140.00. These values represent the number of steps that the stepper motors make to move one millimetre in the X, Y, and Z directions, respectively. It is important to take down the settings as they will be important later on.
- Look at the last value, which is the number of steps that the extruder motor makes per millimetre of extruded material. Let’s call this value A.
- Take a filament and feed it into the printer. Mark the filament 50mm above the top of the extruder. Then take a calliper and measure the exact value, which we will call B.
- Extrude 10mm of the filament. This time, measure the distance from the marked point in the filament to the top of the extruder. The value you get will be called C.
Solution:
The perfect value is B – C = 10 mm. If you didn’t hit the mark, here’s a way to compute the value that we need to input to get the correct extruder steps per millimetre.
D = 10*A / (B – C)
The number you get is the new number of extruder’s steps per millimetre. To be sure, you can repeat the measurements and computations several times and get the average. Once you’ve finalised the value, read below how you can input it into the 3D printer.
Step 2. Calibrating the extruder
First, input the command M92 E[D] to the computer. The D is the sum of the equation above. This command tells the printer the new value but doesn’t save it.
You would have to send the command M500 to save the new value.
Step 3. Calibrating the axes
The only way to calibrate the axes is by printing something. Extruder calibration should always come before axes calibration as the wrong order can distort the size of the printed objects.
To calibrate the axes, you can print out a cube of your choosing. Whether you design one yourself or check out online for a premade design, it’s up to you. Here are some good calibration cube designs. 1, 2, 3.
After the cube is finished printing, measure all dimensions. Repeat the same computation as the one above for each axis D = 10*A / (B – C), except you’ll be changing the variables to the following:
(B - C): the measurement of the sides of the cube
10: The supposed measurement of the cube (as indicated by the design)
A: The value that you got from the first step after sending the M503 command.
Send the same M92 command as above, replacing the E value with the letter of the axis you need to adjust.
3. Calibrating filament settings
Since every filament is different, updating the filament settings of your 3D printer is a must to get the best print possible regardless of the filament you use. Here are ways to do it.
Step 1: Determining the filament diameter
While the filament diameter is already indicated on the packaging, it’s usually off by a few percent in reality. It is important to determine this so that your printer extrudes the right amount of material. Use a calliper to measure the exact filament diameter.
- Measure the filament along the spool in a couple of places.
- Find out the average of these numbers
- Use the sum as the filament diameter value in your slicer.
Step 2: Determining the correct print temperature
The recommended print temperature is already indicated in the filament packaging but it’s better to find out the exact printing temperature it needs for the best printing result.
You have to print a temperature tower, where the model is separated into blocks of varying heights with each block being printed at a different temperature. After printing, you can find out the optimal temperature by checking the best block of the tower.
Get your 3D printer running smoothly with these calibration methods!
Calibrate your 3D printer to get it running smoothly. For questions or assistance about 3D printers or filaments you bought from us, contact us by phone or email.