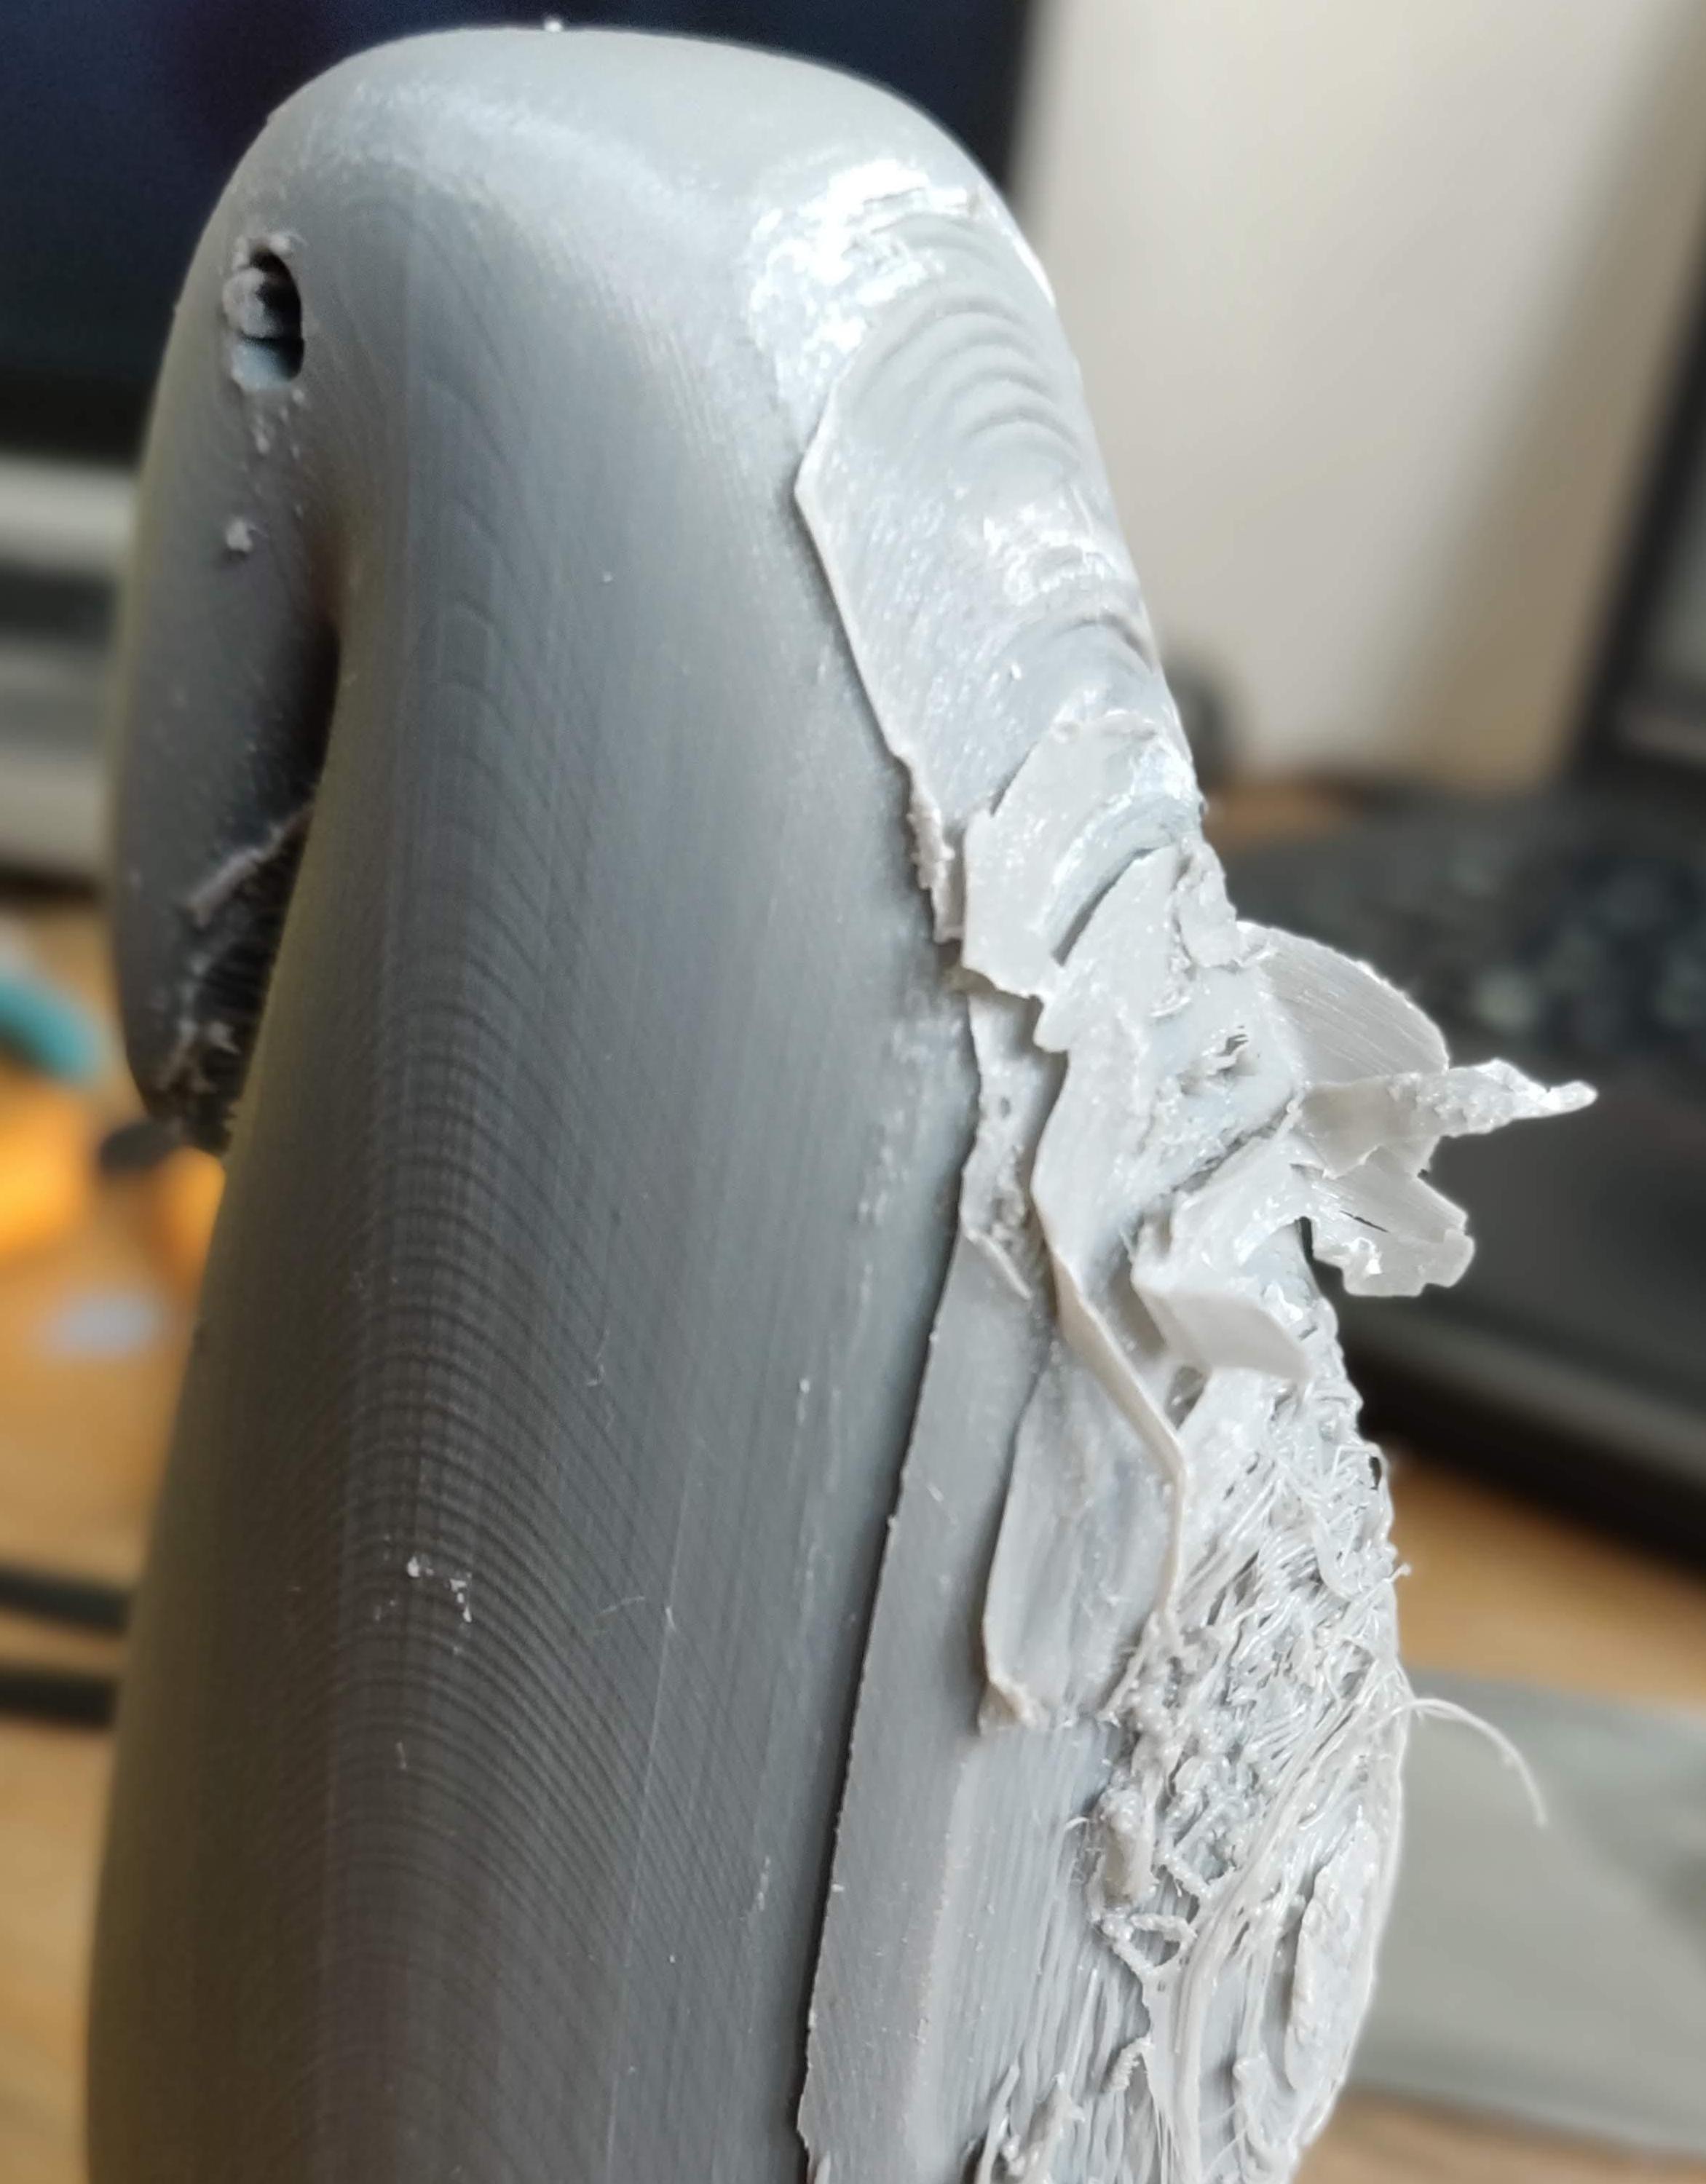
Support can do wonders for prints with overhanging parts. However, the caveat to this is that it can be difficult to remove without leaving marks on or even damaging the print surface.
Slicing software programs give the option of minimising the damage of these support structures. Despite this, these will still leave a mark on your print no matter how careful you are.
Solutions:
There are several ways to go about this to minimise the damage and even eliminate it altogether.
- Invest in a dual extrusion printer and dissolvable support materials: Using a dual extrusion printer can reduce the need for support structure. It is worth the investment especially if you consistently print out complex designs. On the other hand, water-soluble support material such as PVA is easier to remove and leave no mark on the print surface.
- Find out your printer’s capabilities: Some printers allow printing without supports due to their capabilities of bridging gaps of 50 mm and printing angles of 50º. Find out if your can do it too.
- Lower the print temperature: A reduced print temperature can make the support structure easier to remove. However, it sacrifices the adhesion between layers.
- Minimise the support placement: Reducing the amount of print surface that sticks to the support structure also minimises the amount of damage that it leaves. Some prints can get by with the “Touching the Build Plate” setting, which will only print supports on whatever part that is touching the build plate.
- Choose an easy-to-remove support pattern: If your print does not require a lot of support, you can choose flimsier support patterns such as Zig Zag to minimise the damage.
- Lower the support density: A lower support density translates to weaker support structure that is eaiser to remove. This can be set in your slicer software under “Layers.”

