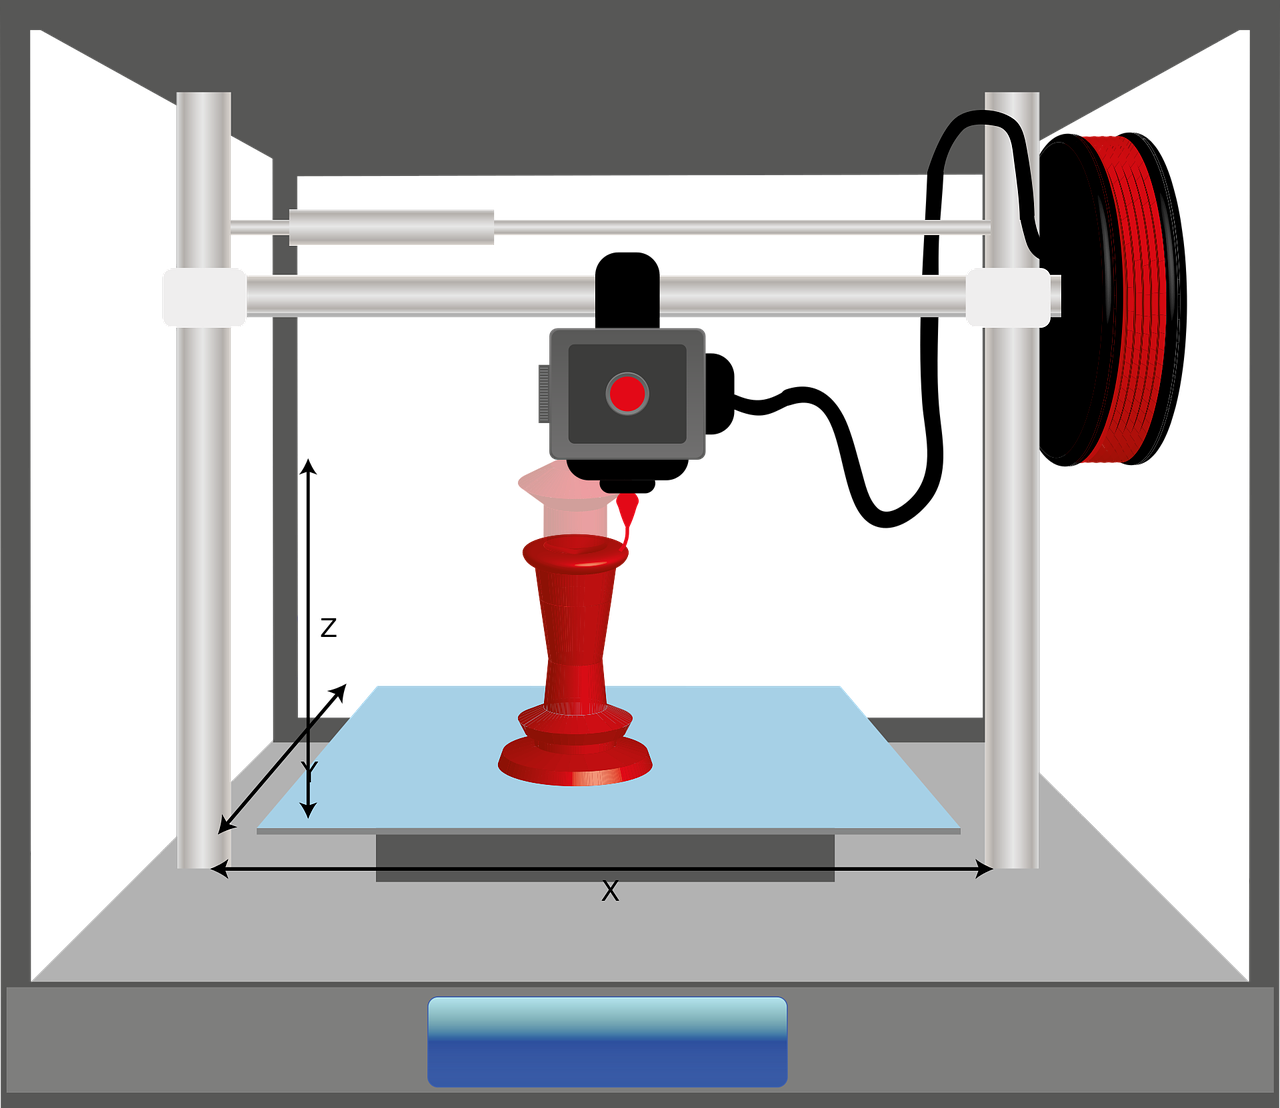
Inserting and switching 3D printing filaments is easier said than done. 3D printing newbies may be afraid to ask how to insert and switch filaments as it may seem basic, but it isn’t as simple either. Here in X3D, we want to make 3D printing easy for beginners. Be a whiz at inserting and switching 3D printer filaments with this guide.
How to Insert 3D Printer Filaments
Although inserting filaments is relatively easy since you can set it up with most 3D printers, there are still things you need to do before you can insert it into the printer. It is after all one of the first steps when 3D printing so it is important that you get it right.
Step-by-step Guide:
- Get the filament tip and snip it off to create a sharp tip.
- Preheat the 3D printer according to the temperature requirement of the filament.
- Load it into the print head and check if it’s extruding properly.
This is just one step of getting ready for your first print. If you want to ensure that your print will be a success, read about our 3D printer bed leveling tips here.
How to Change 3D Printer Filaments
You may find that you need to switch filaments after every project. Or it could be that you want to use multiple colours on your print. Or that you want to use parts or supports made from a different kind from the main model. Whatever your reason is, switching filaments has a different method than insertion. Other printers have smart features that basically do all the work for you. However, if your printer doesn’t have those features, here are the steps you need to do replace the filament with another one:
Step-by-step Guide to Changing 3D Printer Filaments
- Pre-heat the hot end according to the temperature guidelines of the first filament if you’re moving on to a higher temperature filament. If it’s the other way around (high to low-temperature filament), still refer to the temperature guidelines of the higher temperature filament.
- With the new filament loaded into the print bed, flush out the first one until the new filament is extruded.
- You can also try executing a tiny print to let out all of the initial filament from the extruder. Note that this is just going to be a dummy print so it is not going to come out well.
- Some filaments are more likely to clog nozzles due to its viscosity. So if you’re not in the middle of printing, you might as well clean them out with clog-busting nozzle cleaning methods here.
- If you tend to switch out filaments for projects, you might as well buy an Olsson block nozzle. It allows you to print with separate nozzle tips and change them.
Inserting and switching 3D printer filaments may not be as simple as what you might think they are, but it’ll get a lot easier once you get the hang of it. For more info on how to do it, you can contact us through x3d@x3d.com.au. You can also test out these methods by stocking up on our discounted filaments here.

