
If you want your 3D prints to come out successfully, you have to make your bed and lie in it. Just like smoothing a canvas for painting, 3D printer bed leveling is one of the most crucial steps that you must do to achieve the highest success ratio when printing. After all, you can’t expect your prints to come out even if the platform it is on is unleveled. Here are signs that your bed needs leveling:
- Your print is not sticking completely on the build surface
- Your print has varying height and width across the build surface
- Your print has gaps between lines
There are three ways to level 3D printer beds: manual leveling, software leveling, and hardware leveling. Find out how to do them below.
Manual Leveling
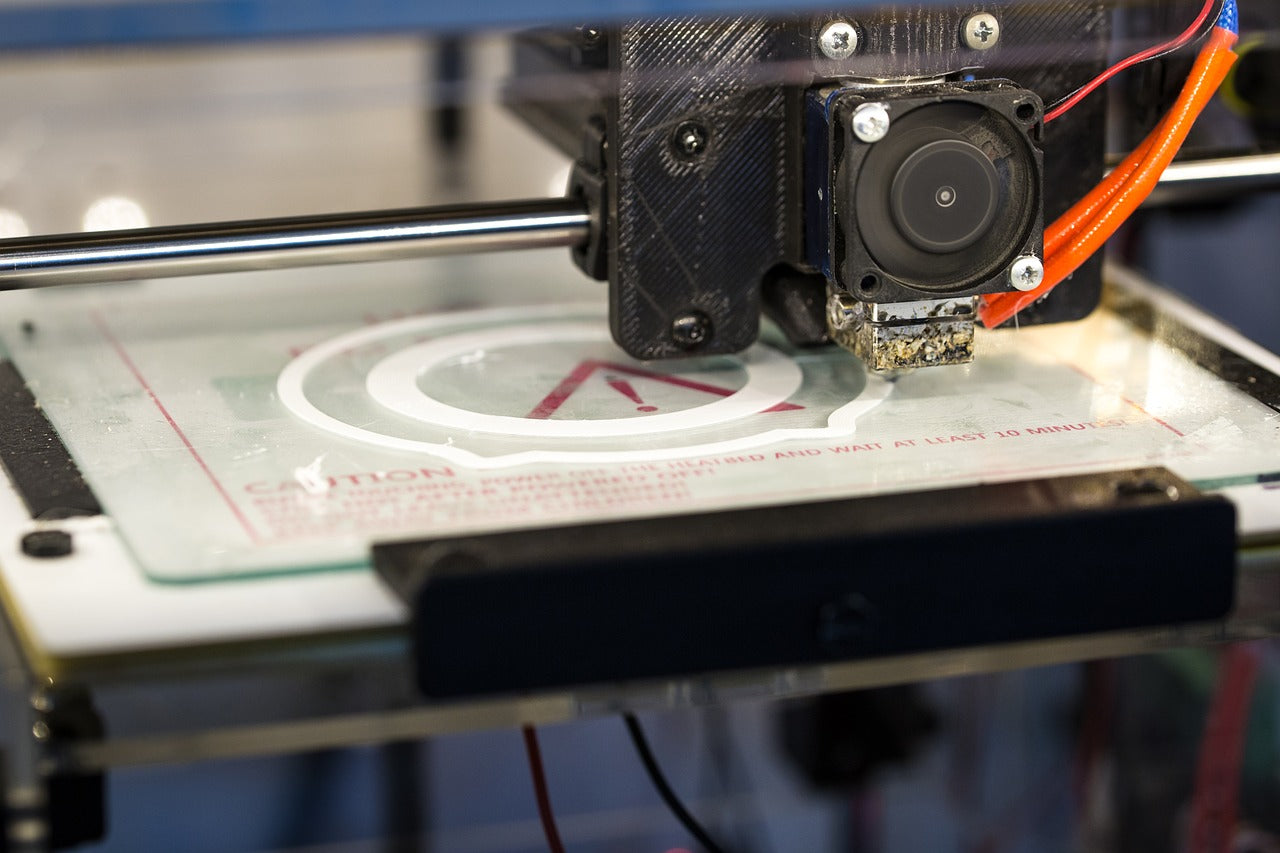
Most 3D printers can handle 3D printer bed leveling through manual means. While most printers have auto- or semi-auto 3D printer bed leveling, manual leveling can still give the best chance at achieving the perfect first layer. You can do this by adjusting the screws that hold the bed. The number of screws varies per 3D printer. Some have three screws, while the others have four. The latter is a lot more difficult to adjust since the fourth screw usually bends the print surface diagonally. It can be complex but it is doable; you just have to be more careful.
- Increase the space. Tighten the screws so that you’ll have more space to work with in between the nozzle and build plate.
- Move the build plate closer to the nozzle. Set the build plate closer by adjusting it by hand or through the software.
- Move the print head on top of each screw. You can make sure that each corner is set at the same height as the others by calibrating it using the tip of the nozzle. Insert a piece of paper in between the nozzle tip and bed. You should feel a slight resistance when you drag it back and forth. Otherwise, loosen the screws to until you do. Do this for all screws of the bed.
- Adjust the nozzle gap. Leveling the printer bed may change the height of your nozzle, so what you need to do is adjust the Z height. Recommended setting is 0.1 mm, but you can experiment until you can feel the paper dragging when pulled between the nozzle and the build plate.
- Test it out. Check if the bed is leveled now by printing the first layer of a print job.
Software Leveling
If your printer doesn’t have any way to adjust the level bed but through the software that it comes with, then that is your only option. You can set how many points you want to probe on your print bed through the software. Similar to what we did in the manual method, it will have you drag a paper in between to check for resistance, but the software will take into account the dimensions so that it can make the proper adjustments when printing your first layer even if your print bed is skewed.
Hardware Leveling
Some 3D printer models have a hardware feature built in that probes the print surface level. It varies for each 3D printer. Here are the types of hardware leveling probes on some of the 3D printers that we carry:
Capacitive probe
The capacitive probe is an exclusive technology equipped in Ultimaker 3 and Ultimaker S5. It actively levels the bed by using a special sensor that measures the height of the bed at three set locations to determine if it is tilted or skewed. It then takes into account the current level of your bed to adjust the nozzle height upon printing.
Microswitch
In use by the BCN3D Sigma R17, the microswitch is an old-school mechanism that involves a switch that sends out a signal. The Sigma R17 has a set of microswitches located on the printhead to probe the three corners of the bed to gather the dimensions.
There are plenty of ways to level 3D printer beds, but only you can know which method works the best for you and your 3D printer. If you have any questions regarding these 3D printer bed leveling tips, you can contact us by phone at 08 6380 7488.