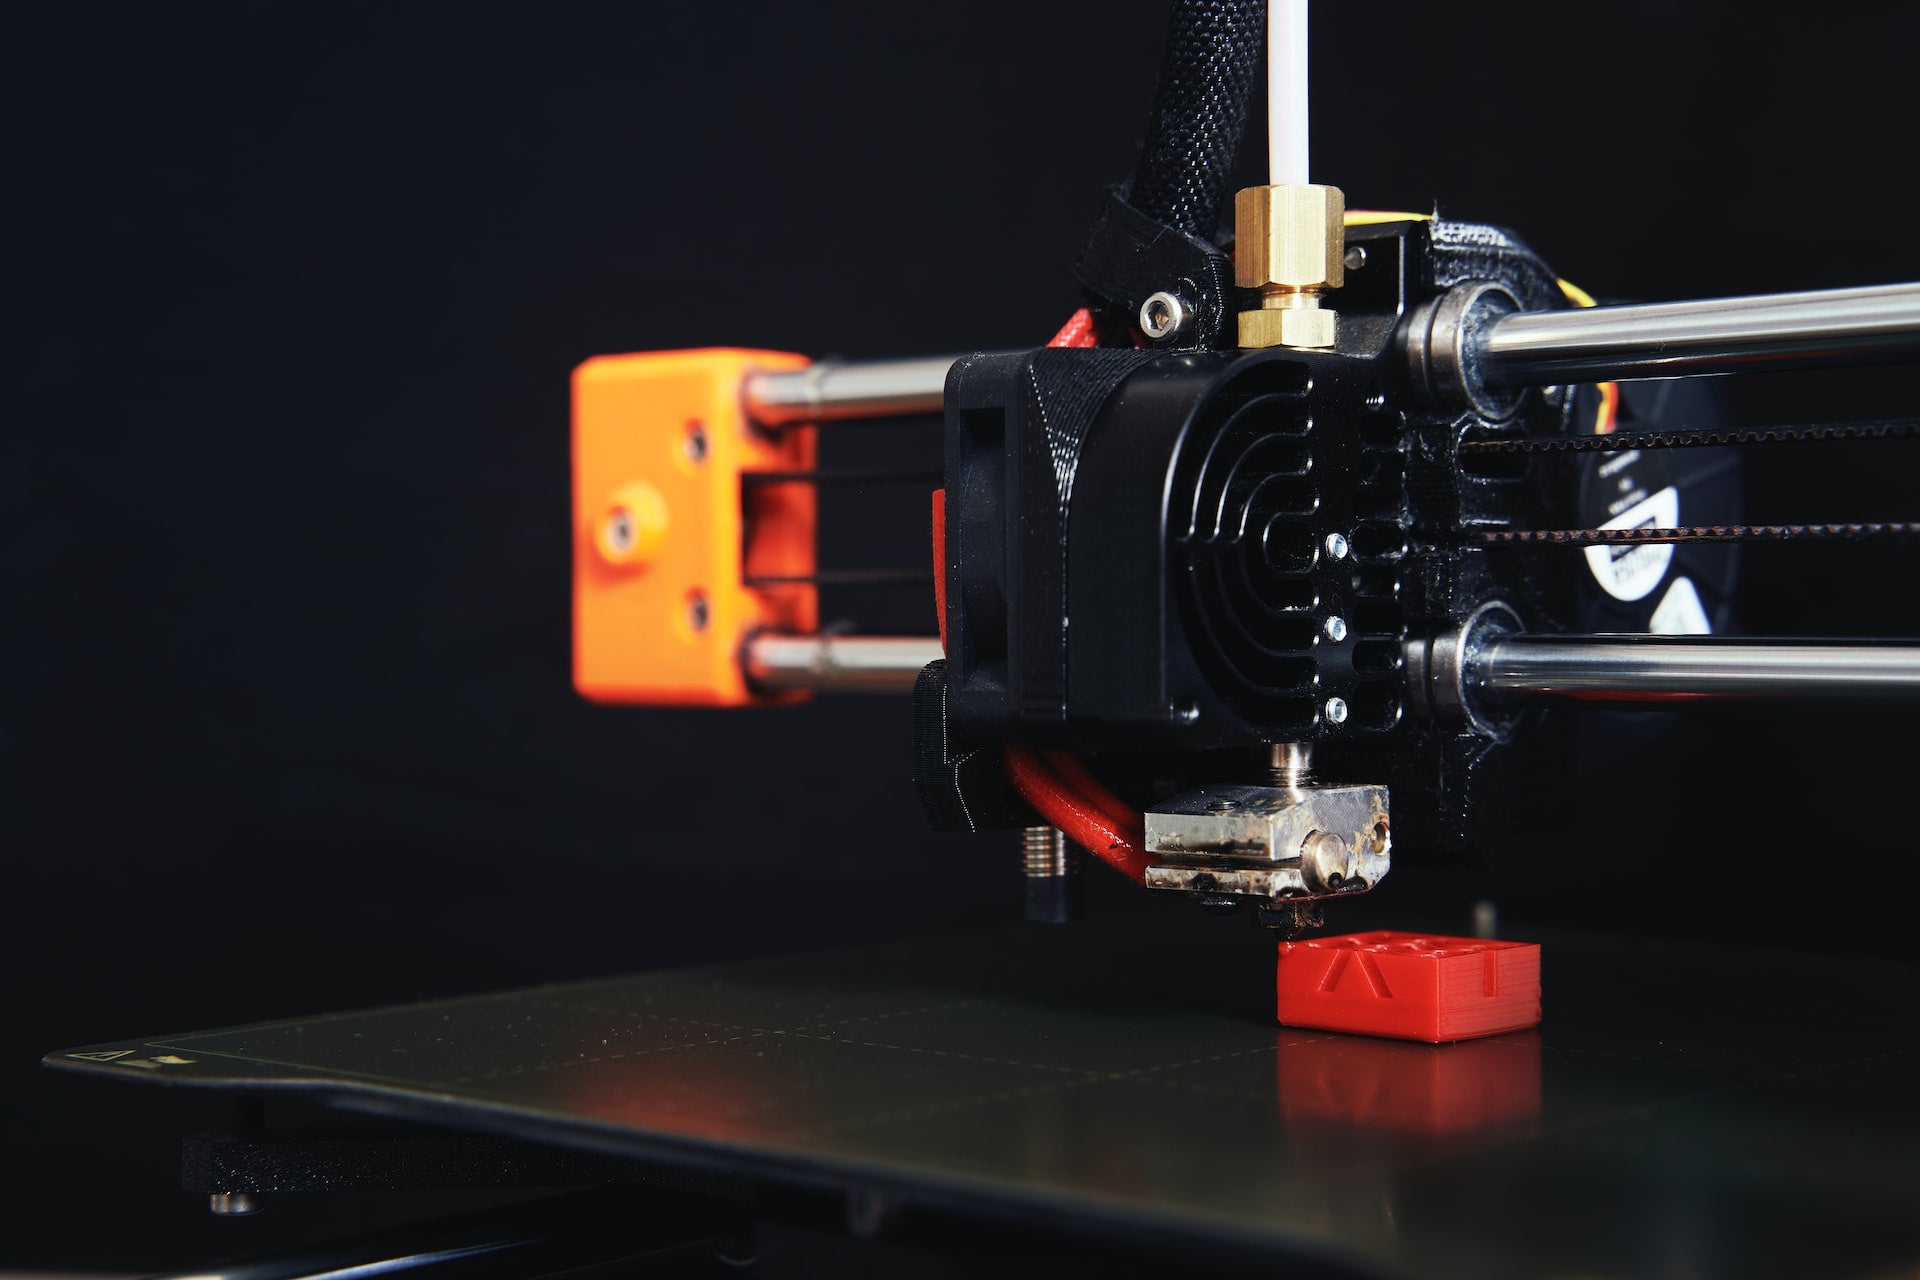
Sometimes, 3D prints can be hard to remove from the build plate. It can be caused by several things:
- Using bed adhesives that are incompatible with your filament
- Using a glass heatbed for PETG
- Nozzle is too low
- First layer is printed too slow
- And many more...
All these can be prevented before 3D printing. What happens when you’ve already finished printing and yet your 3D print seems to be stuck on the build surface? Here are ways you can remove it without damaging it.
1. Use a bit of force
Once in a while, you need to apply force when removing a 3D print from the heatbed. You don’t have to go hulk smash on it, but putting some elbow into it is needed. Wait for the print bed to cool down significantly before attempting to remove the print. Once it’s cooled down, hold it down with one hand and pull or push the print away from the surface with the other.
Be careful not to force the removal too much though as it could tear off a part of your print. You also have to consider the build and material of the 3D print. If your model is not structurally sound or if you’re using PLA, then this tip is not for you.
2. Warm up the print bed
If you’ve left your 3D print a bit too long on the build surface, you can make it unstuck by heating the print bed. It will melt the adhesive a bit and decrease the stickiness as well as soften the materials of the print so that it doesn’t stick to the bed anymore. Keep in mind that setting the temperature too high will melt your 3D print so set the heat to less than 70 Degrees Fahrenheit.
3. Use dental floss
Floss is not only good for your teeth but also for your stuck 3D prints. If your 3D print is stuck on the build plate, hold the floss with your two hands. Run it at the bottom rear of the model pulling it towards you slowly. It should be able to dislodge the print.
If you don’t have dental floss around, you can use any strong stringy item, such as nylon thread or soldering wire.
4. Scrape it from the print bed
This is the most common way to remove a stuck 3D print. Simply take a spatula, paint scraper, or any flat and sharp blade and scrape the 3D model carefully from the bed. When we say carefully, we also mean that you have to keep your safety in mind. Exercise necessary precautions when using a blade. Make sure to scrape away from you.
Be careful not to damage the build plate as this will cause adhesion and levelling issues down the line.
5. Stick the print bed and 3D print in a cool place
While letting the 3D print cool down for too long may cause it to get stuck, sticking the whole thing (print bed with the stuck print) into the freezer while it’s still hot may cause it to dislodge.
Here’s why: Drastic temperature changes can make materials contract, making the 3D print lose traction on the build surface.
After minutes of leaving the items in the freezer, try to remove the print. If it still doesn’t budge, give it more time to cool down.
Be careful with this method if you have a glass build plate as glass shatters with sudden temperature changes. Make sure that the glass is at room temperature first before sticking it into the freezer.
Never have to worry about stuck 3D prints again with these tips!
Removing stuck 3D prints from the build plate is not a problem as long as you practise safety and carefulness. What is your favourite method of 3D print removal? Sound off below!