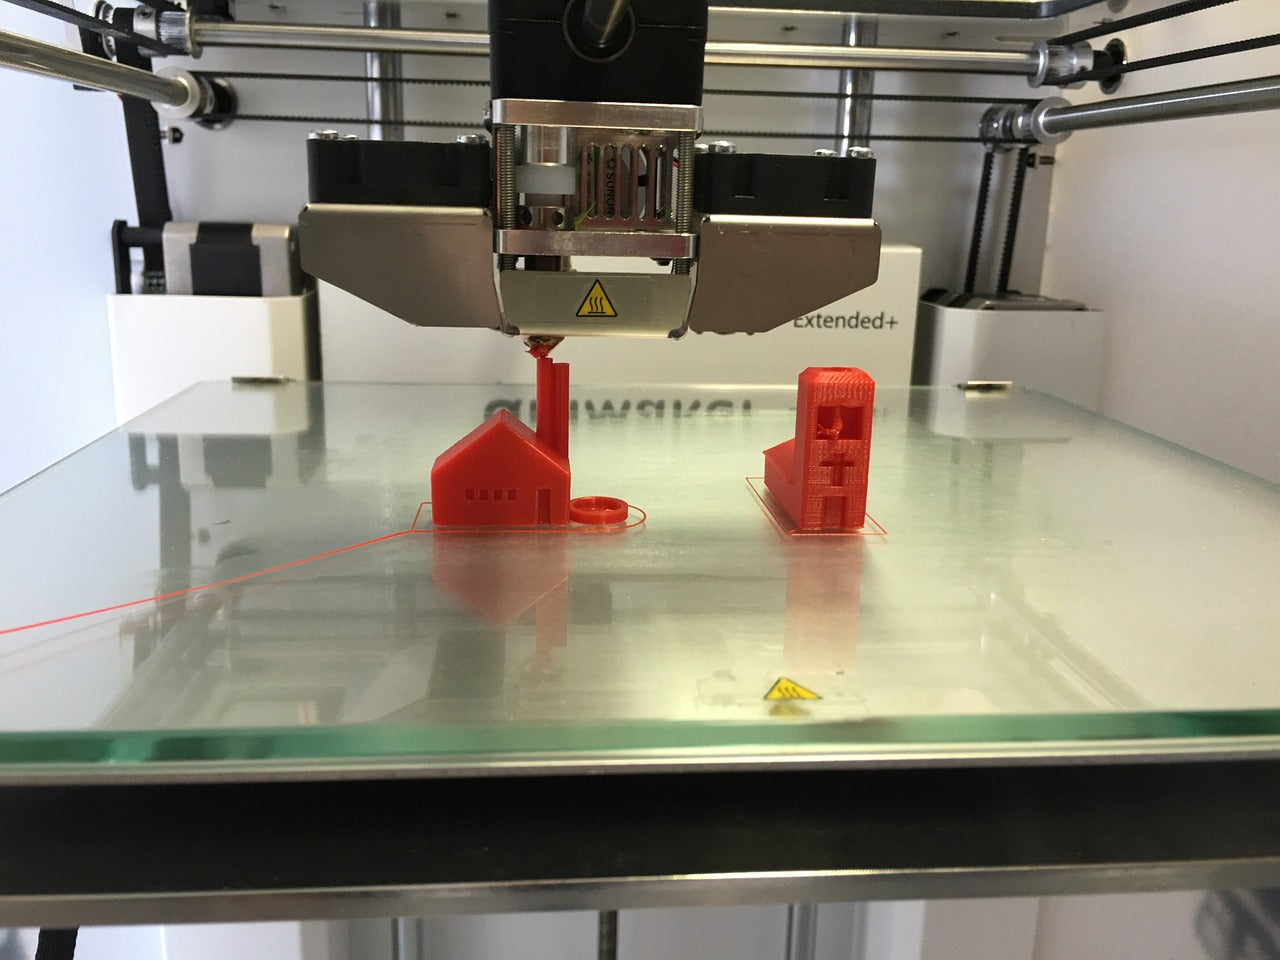
Bed adhesion is crucial to your print’s success. Without it, you might as well come to terms that your 3D prints will come out as warped or worse, misshapen blobs. Get the adhesion right and it’s almost smooth sailing from there.
You’re probably wondering how your heat bed can lack adhesion. After all, the road to 3D printing hell is paved with good intentions. You may think everything is working out great in the beginning but when you come back to check on your print, it has become a disaster. Here are signs that your heat bed is missing adhesion.
Signs that you lack bed adhesion
- The 3D print is warped
- The 3D print is a jumbled mess
- The first layer is messy
Bed Adhesion: Tips and Tricks
Level the bed and adjust the nozzles
Bed leveling and adjusting the nozzles are the first thing you should do before starting printing. Depending on your 3D printer, there may be a few ways to level your bed. Some 3D printers have an automatic leveling system, while others such as Ultimaker 3D printers have their distinct way of bed levelling. Check the user manual for instructions.
As for adjusting the nozzles, make sure that they are not too high or too low. If it is too high, the print wouldn’t stick since the extruded material would have cooled by the time it reaches the bed. Set it too low and the nozzle will scrape off the printed material.
Clean the print bed
A dirty bed, especially if it is bed from glass, prevents prints from adhering when they are dirty. Glue, fingerprints, and previous print projects build up residue on the surface so it is important to clean it from time to time to restore its usual adhesion-friendly self.
Set the correct temperature for the filament you are using
A filament that hasn’t been heated to its appropriate extrusion temperature will not stick to the bed. Make sure that you follow the recommended extrusion temperature by the filament manufacturer.
Use bed adhesion enhancements
Some filaments are just more prone to warping. Warping happens when the print shrinks because it cooled down too fast. It applies forces to the base of the print, which causes the corners to hike up. To avoid this, use bed adhesives such as Buildtak and Dimafix for optimal adhesion. You can also use makeshift adhesives such as glue stick, hair spray, ABS slurry, or tape.
Create adhesion-friendly designs
Another thing that affects bed adhesion are 3D prints that are small in stature or have surfaces that have little contact with the bed. In cases like this, it is best to add brims or rafts to the design in the slicer software.
You can also add supports to complex overhangs and extremities to hold your model together during printing.
Bed Adhesion Is the Key to Your Print’s Success
Solving bed adhesion problems are easy when you use bed adhesives such as Buildtak and Dimafix. Check out our collection of bed adhesives here to order. For enquiries, contact us on 6380 7488 (8:30am – 4:00pm, Monday-Friday) or x3d@x3d.com.au.

