
It is evident when your resin model is done printing, but how do you know when it is done curing? Yes, it is possible to overcure a resin 3D print just as easy as it is to undercure it. Here are the factors that can influence your resin 3D print’s curing time:
- Size: Larger resin models require a longer curing time than small ones. Small models are easier to overcure while the large ones can stand more leniency with the length of curing time.
- Print Colour: White and light-coloured resin prints are easier to cure. Darker resins, however, take longer.
- Curing method: Using high-powered UV curing stations takes faster to completely cure your resin prints. On the other hand, for those who want to go au naturel, prepare to wait a bit longer when you cure your resin prints under direct sunlight.
Signs that your resin print is overcured
Fresh off the printer, a resin print is tacky and soft. Curing is a necessary step to get it to solidify. Resin is designed to be UV reactive, so exposing it to UV through a resin curing lightbox or natural sunlight makes the print harder, stronger, and more durable. It also completely dries up any tackiness from the print, preventing your skin from being irritated from resin.
3D printing a model usually takes hours to finish. It would be a shame if it gets ruined by overcuring. Here are ways you can tell that your resin print has been overcured:
- Yellowing of prints: If you notice that your prints are starting to yellow or get discoloured, then you’ve exceeded the necessary curing time.
- Brittleness: A brittle resin print is a sign that you may have left the print in the curing station for too long. Remember, resin reacts to all UV rays, so keep your resin away from the window if you don’t want to cure any further than it has to.
- Cracks: If you’ve managed to forget about the resin print curing under UV lights for a long time, you may notice cracks on the print.
How long should you cure your resin 3D prints?
As a rule of thumb, the average resin curing time should take no longer than 6 minutes. However, it still depends on the size, colour, and density of the resin print. Here are guidelines as to how long you should leave your resin 3D print to cure inside a high-powered resin curing station:
- Under a minute: Miniature-sized resin models
- 2 to 5 minutes: Average sized resin models
For larger models, you can always shoot for a short amount of time (e.g., a little more than six minutes) and if it’s still undercured, you can always put it back under the UV lights for a bit more until it becomes drier. It is better to undercure and just put it back than to overcure and have to reprint.
Curing under direct sunlight will take a lot longer and can vary depending on the climate. If you have the luxury of time to wait and watch for your resin print to cure, then you can probably try it. However, if accuracy is key, you’re better off using a high-powered resin curing lightbox.
UV Resin Curing Stations from X3D
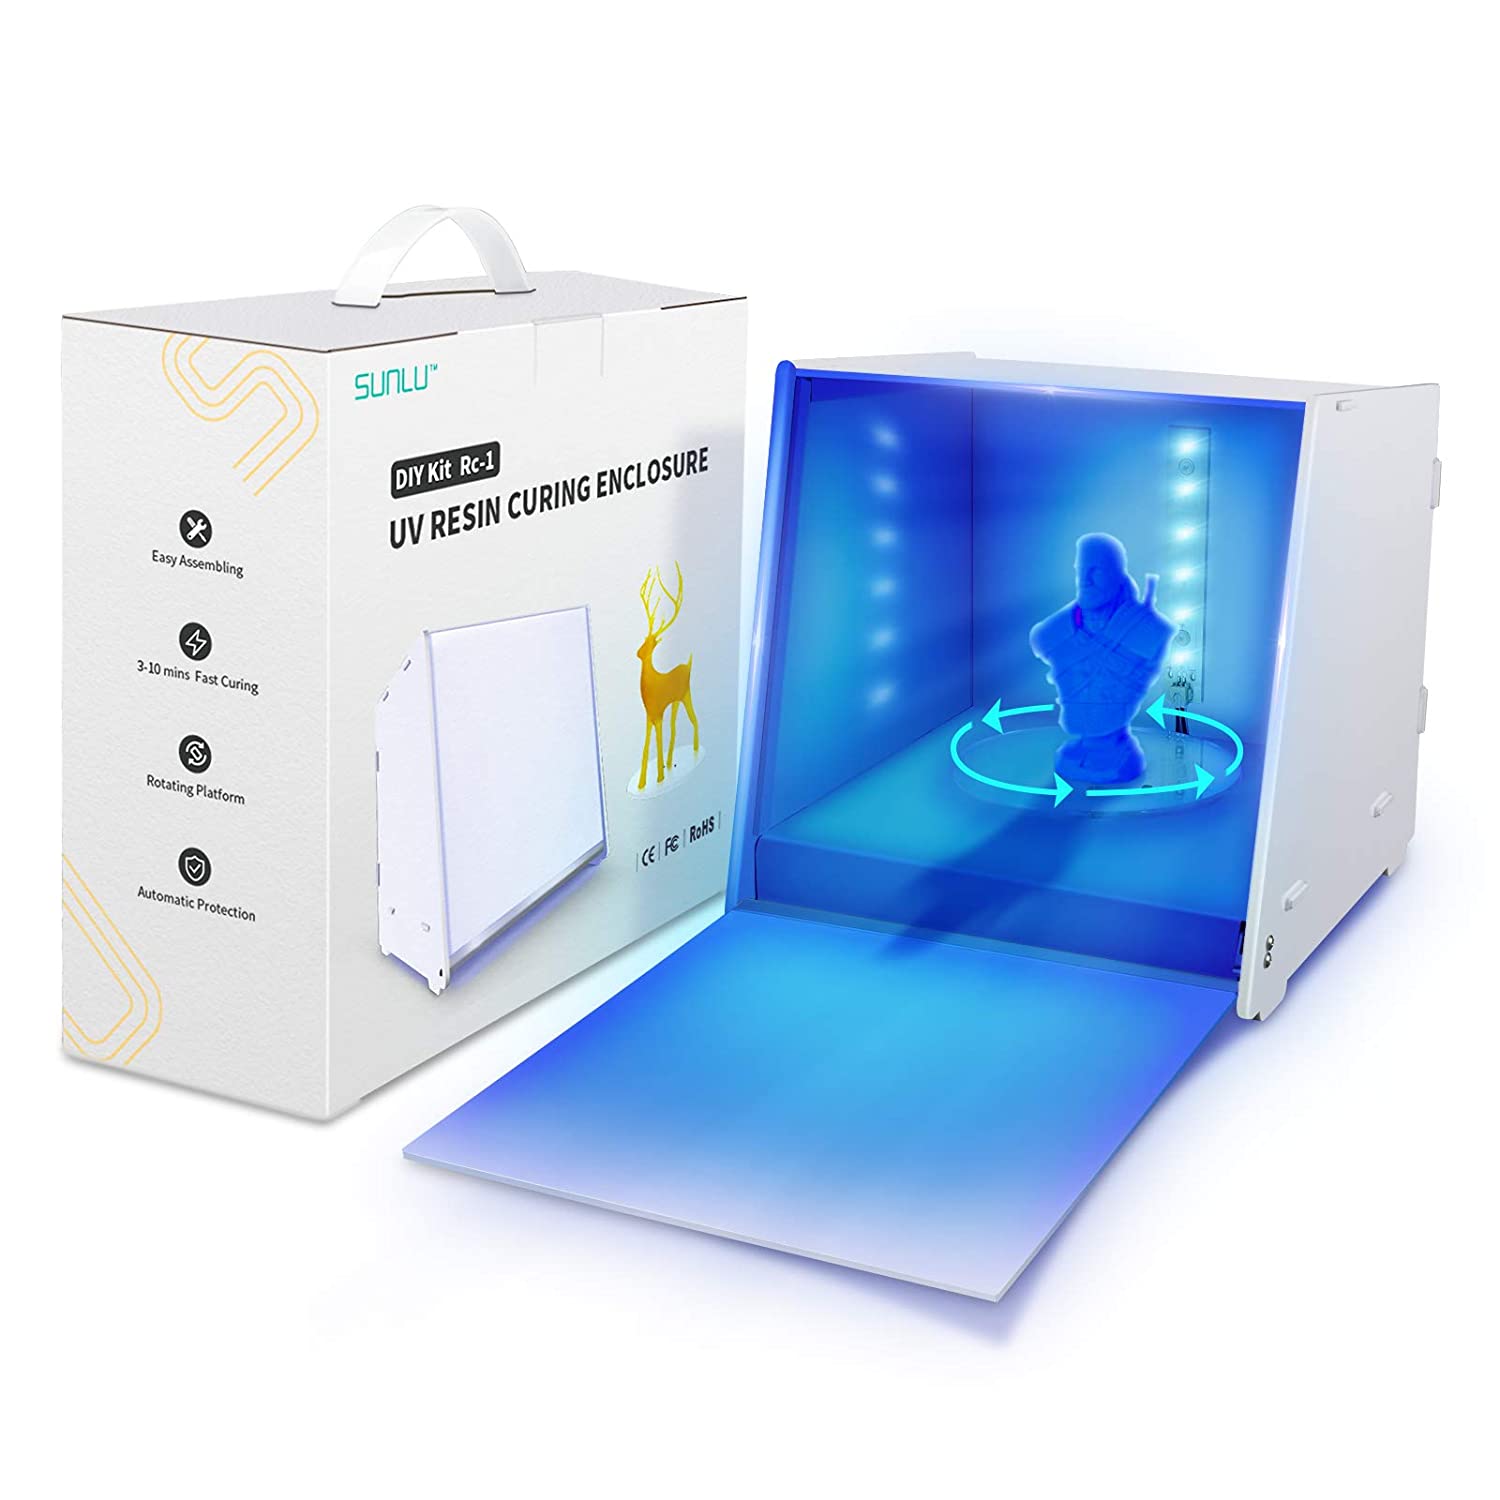
Sunlu Resin Curing Light Box ($99)
Sunlu Resin Curing Light Box is an affordable and easy-to-use resin curing station. It is similar to an oven: you only have to put in your resin print and set the timer to your desired curing time (from 0 to 6 minutes).
Once the timer ends, your print is guaranteed to be evenly cured with its 6 high powered 405nm UV LED lights and 360°Rotating Turntable. It is also equipped with a special optical filter material so that UV doesn’t leak from the station.
Light Curing Lamp (on sale at $29!)
If you require a simple UV curing lamp for your prints, this is it. It is a handheld device that you need to rotate around your resin print in order to evenly cure it. It is a no-frills lamp so you only need to turn it on and shine it on your resin print to cure it.
What if your print is still sticky after curing it?
Sometimes, no amount of resin can get the stickiness off of your resin prints. Washing your prints with isopropyl still leaves some tackiness, so it is better to do it twice and clean the prints with a paper towel or tissue. It is important to have two containers for each round of isopropyl wash so that your print gets thoroughly cleaned.
If there is still tackiness despite doing the 2-step isopropyl wash, you can sand your prints to smooth down the surface of your prints. You can apply a clear coat of gloss afterwards to cover up the marks from the sanding.
Curing your resin prints is easy with Sunlu UV Resin Curing Light Box!
Why complicate the resin curing process when you can do things simple with the Sunlu UV Resin Curing Light Box! It is a popular product that keeps selling out, so grab it while stocks last! For inquiries, you can contact us by phone, email, or social media.