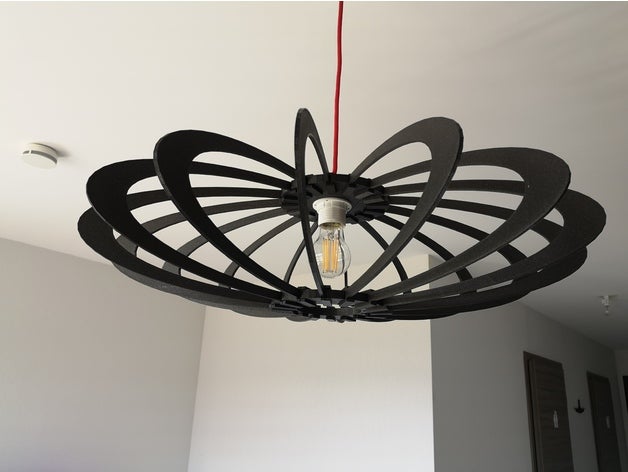

Source: Huge Modern Futuristic Lamp by poy74fl
With 3D printing, you can go as big and as complicated as you want even with a compact 3D printer. How, you ask? It’s just a matter of dividing your 3D print into different parts that can fit on the build plate. Here are reasons to divide your 3D print:
- Design is too big for the build plate
- Design is too complicated
- Design with overhanging parts that you don’t want to be marked by supports
Once you have completed all of the parts, you can then bond them together. However, gluing 3D models together isn’t that simple. In some cases, 3D print bonding leads to barely visible signs, while other methods can lead to unsightly marks and bumps. In this article, we will share with you the 3 different ways to glue 3D prints together and its effects on your 3D model.
Superglue
![]()
Advantage: The easiest and fastest method of bonding 3D-printed parts together is by using superglue. It also doesn’t leave a mark, gluing the different parts almost seamlessly.
Disadvantage: There’s no room for error when it comes to superglue. Since it dries up really fast, you have to ensure that the parts are perfectly aligned when gluing them together and they should also stay that way until the glue is completely dry.
Superglue does not work on flexible filaments. However, it works well with almost any other filaments, such as PLA, PETG, and ABS.
Tips:
- If your print has any rough or uneven surfaces, sand them first as superglue works best with smooth and clean surfaces.
- A clean surface is key in getting your prints to stick well together. Wipe down the surface with alcohol and let it dry before gluing.
Solvent
Advantages: Chemical solvents leave a permanent bond with little to no seam or marks. This works by chemically melting down the surface of the two parts and attaching them together until they dry. You can use Acetone for prints made with ABS, PLA or HIPS.
Disadvantages: Acetone is a dangerous and flammable chemical that emits noxious fumes. Make sure to use it in a well-ventilated room and keep it away from flames, kids, and pets. You will also need to wear a mask to prevent the inhalation of fumes.
Tips:
- Be cautious about the application of the acetone. Make sure to apply a thin layer only as applying too much will ruin the prints.
- Since it takes hours for the acetone to dry, secure the alignment of the prints by taping them down to prevent them from sliding or moving.
3D pen
Advantages: Using a 3D pen is the best way to bond 3D-printed parts if you don’t want to damage your print and show tell-tale signs of gluing. Your prints will look seamless since the glue material that you’ll be using will be the same filament that you used to create the prints. This method can also be used for any material.
Disadvantages: Since you’ll be using filaments to glue the prints together, they are not as binding as super glue and acetone. Thus, this method is better suited for non-functional prints.
Tip:
- It is essential to use the same filament that you used for your 3D print.
Super-size your 3D prints with these 3D Print Gluing & Bonding Techniques
Printing gigantic 3D prints will be a lot easier with these 3D printing techniques to gluing and bonding parts. If you have any questions, you can contact us by phone and email. Need filaments for your next project? Browse through our X3D Pro filaments here.