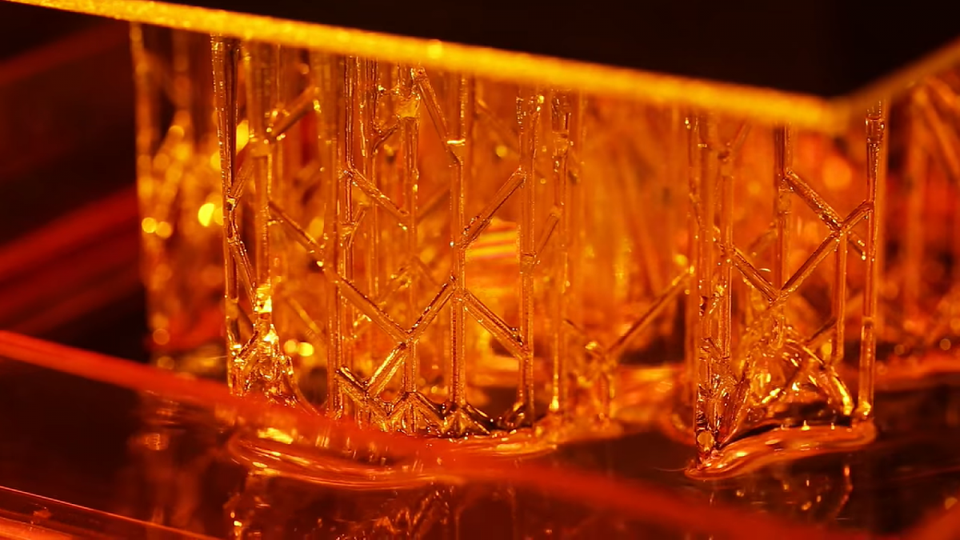

You may have years of 3D printing experience with FDM 3D printers, but you may find yourself a bit overwhelmed using a resin DLP printing. The techniques that you use for FDM printers will not work for DLP printers since they are built and operated differently. To avoid wasting your resins and time when printing, here are 5 tips and tricks to ensure successful resin prints every time.
1. Design your resin 3D print for success
It all starts in the blueprint. When designing your resin print, you have to optimise the design of the parts in order to get them printed successfully. Here are the steps you should take for an optimal resin printing design:
- Supported walls should be at least 0.4mm thick
- Unsupported walls should be at least 6mm thick with a filleted base
- Overhangs without support should be kept at a maximum of 1 mm in length and at least 19° from level
- Embossed details should be a minimum of 0.1 mm in height above the surrounding surfaces
- Engraved details should have at least a 0.4 mm width and at least 0.4 mm depth
- Narrow horizontal bridges should be kept shorter than wider ones
- Holes have a diameter of at least 0.5mm
- Moving parts should have 0.5 mm of clearance
- Assembly connections should have 0.2 mm of clearance
- Snug fit should have 0.1 mm of clearance
2. Get your 3D printer ready for printing
Just like FDM printers, resin DLP printers also need to be prepped for printing. It is important that the build plate is levelled as DLP printers register the slightest amount of discrepancy due to their high resolution.
Ensure that the resin tank is clean as well as the resin. Check if the resin is not expired and within the recommended temperature range.
3. Slice your 3D model right
It’s an entirely different ball game when it comes to slicing your model for resin printing compared to FDM printing.
- Non-manifold models (e.g., areas with no internal faces/thickness or disconnected edges/vertices) should be prepared with STL repair programs, such as Netfabb or Makeprintable.
- To save resin, hollow out solid large portions with Autodesk Meshmixer. Don’t forget to add drain holes with a radius of 1.5 mm each at the bottom to allow excess resin to drain.
4. Carefully remove and clean your resin print
Before removing and cleaning your model, protect your hands from the resin by wearing nitrile gloves. Use a spatula when removing your model from the build platform, but be careful not to chip the model.
To rinse the resin, you can use a resin cleaning solution, such as Phrozen Model Wash or Resinaway Cleaner. You can also use it to clean spilled resin on build plates, instruments, and surfaces.
5. Cure your print with a UV light
This is where your model can finally come alive. Your model should be cured after drying. You can easily create one of your own. Here are ways you can create your own:
- DIY UV Curing Station by FauxHammer
- Low Cost UV Curing Box for 3D Resin Prints by kidNeutrino
- Cheap And Effective UV Curing Chamber by KEIRAN
Get high-resolution and accurate resin prints every time with these 5 resin printing tips & tricks!
Resin printing may be overwhelming for some but it’s not difficult. You just need to get a hang of printing with it. If you want to start resin printing, you can check out our range of professional and affordable Phrozen resin printers. You can also stock up on resins and other related supplies here.