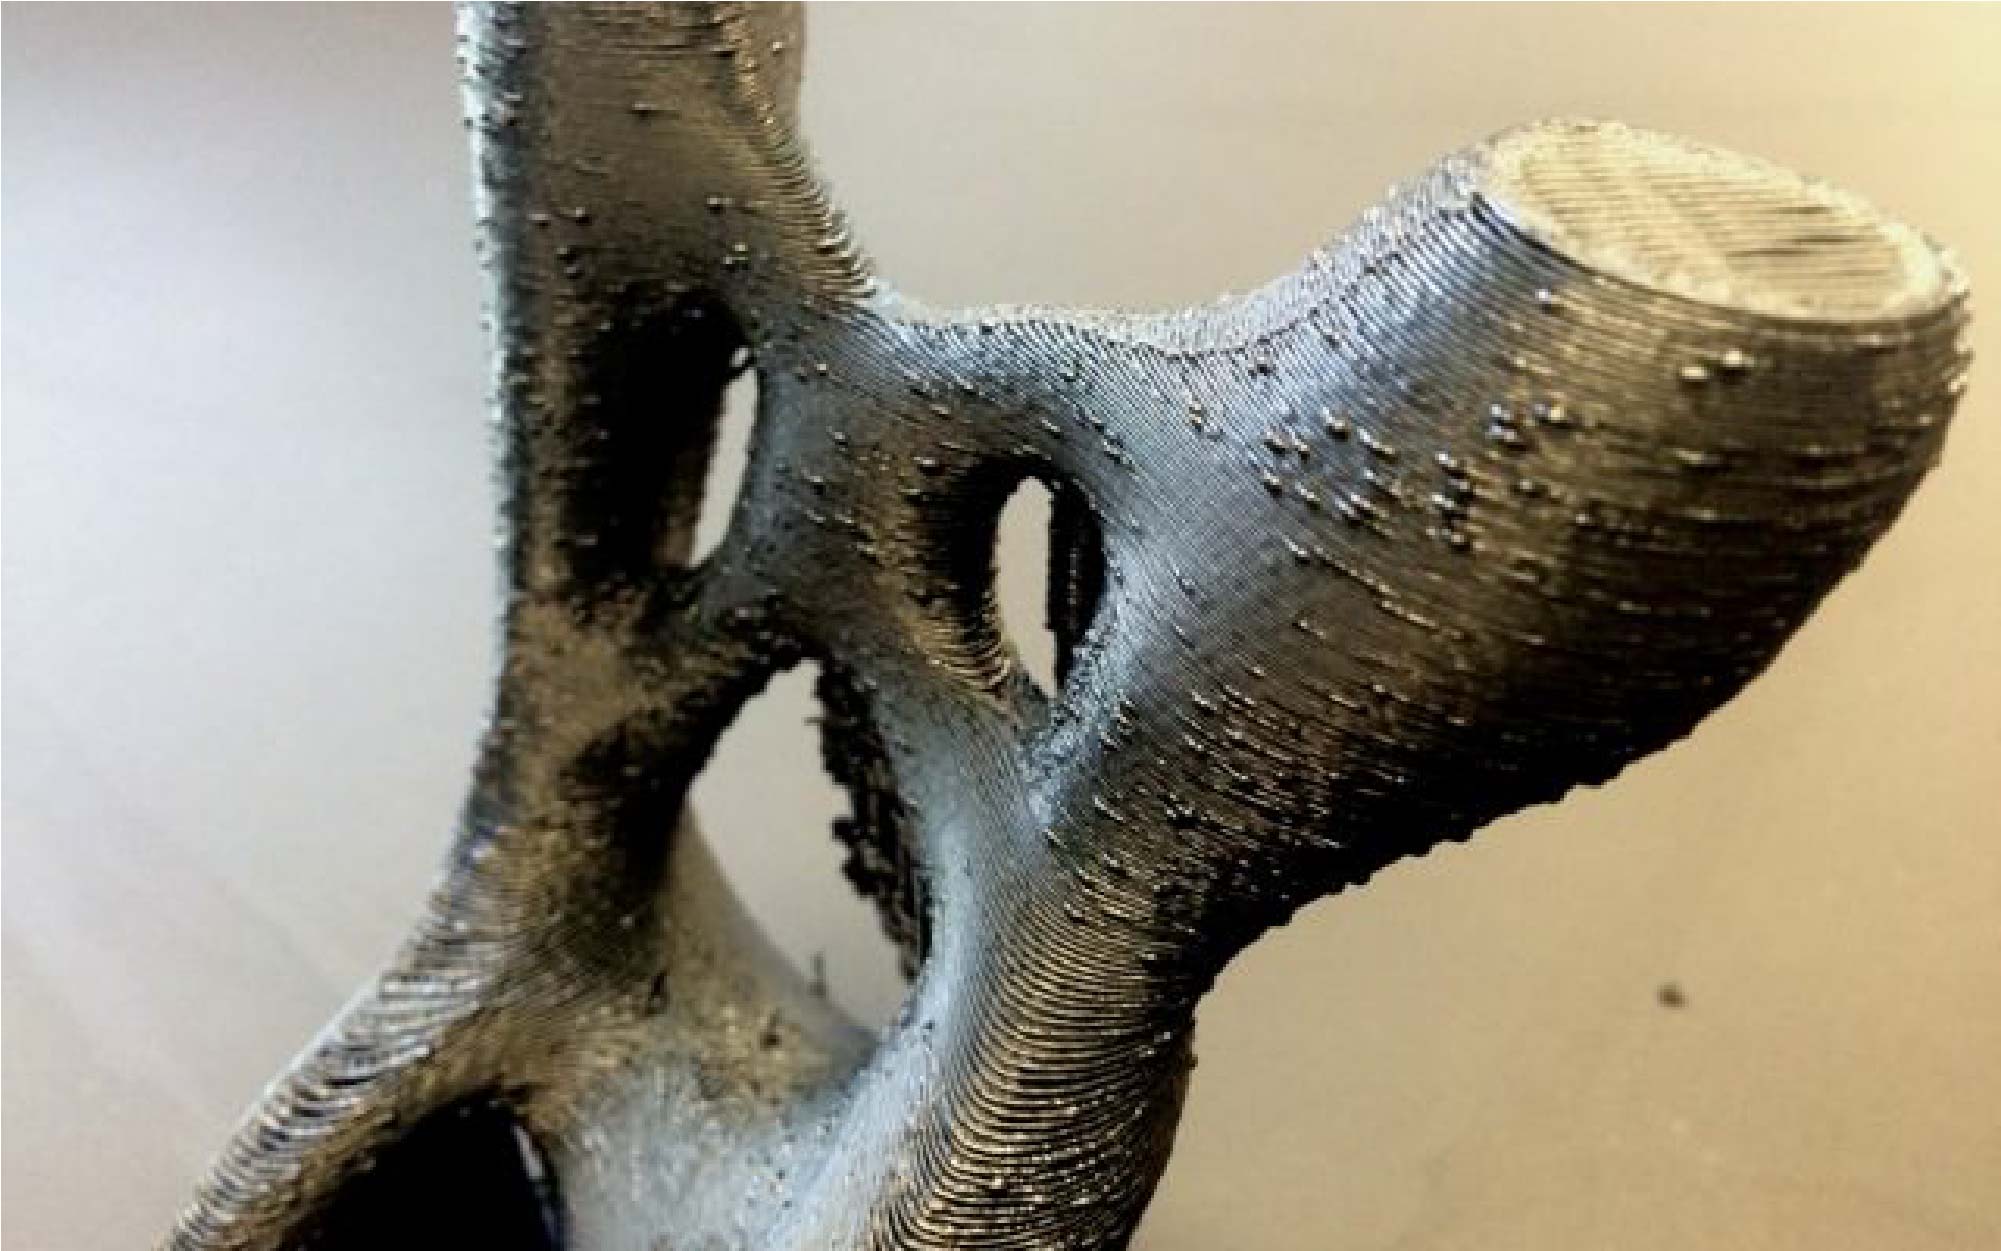
One of the most common problems encountered when 3D printing is the appearance of blobs and zits on the surface of the print. These small imperfections can ruin the appearance of a print, which is a big no-no for decors and cosplay parts. They can also pose a problem for functional and modular components, especially since these imperfections can distort the print’s dimensions. In this blog post, we will discuss some tips and techniques for preventing blobs and zits on 3D prints.
1. Calibrate your 3D printer
Many 3D printing problems can be solved just by tuning and calibrating your 3D printer. Make sure to level the bed, calibrate the extruder, screw in the nozzle tightly, use the appropriate temperature for the filament you’re using, and set the Z-offset accurately.
2. Adjust the extruder
Another main culprit of zits and blobs is an improperly tuned extruder. If you notice that your 3D printer is not extruding materials correctly, then it’s worth checking out the extruder.
Tuning the extruder is part of the calibration process that you should be doing on your 3D printer regularly. You should also check your slicer for the flow (allows you to control how much filament is extruded) and extrusion multiplier settingsA dirty or clogged nozzle can cause blobs and zits by disrupting the flow of filament. Make sure to clean the nozzle regularly, especially if you are using a material that is prone to clogging, such as wood filament or carbon fibre.
3. Adjust the temperature
The temperature of the nozzle and bed can also affect the appearance of the print. If the temperature is too high, the filament may melt and ooze out of the nozzle, causing blobs and zits. If the temperature is too low, the filament may not flow properly, causing under-extrusion and a rough surface. We recommend lowering the temperature by 5-10 °C.
4. Reduce the printing speed
Printing too fast can also cause blobs and zits. The nozzle may not have enough time to properly melt and extrude the filament, resulting in uneven flow and the formation of imperfections. Try reducing the printing speed by 5-10 mm/s to see if this improves the quality of your prints.
5. Adjust the retraction settings
Retraction is a feature that pulls the filament back into the nozzle between moves to prevent oozing and stringing. Enabling retraction can minimise the risk of blobs and zits by reducing the amount of filament that is extruded when the nozzle moves from one area to another.
The retraction settings can also affect the print appearance. If the retraction distance is too short, the filament may not be fully retracted, causing oozing and blobs. If the retraction speed is too high, the filament may not have enough time to fully retract, also causing oozing and blobs. Experiment with different retraction settings to find the optimal values for your particular filament and printer.
6. Use a cooling fan
A cooling fan can help prevent blobs and zits by quickly cooling the filament after it is extruded. This can help prevent the filament from oozing out of the nozzle and causing imperfections on the surface of the print.
Try to increase the fan speed in your slicer by increments of 10% until the zits and blobs stop recurring. If you’re already running the fan at max speed and it still doesn’t go away, you can add another fan.
Clear up your 3D print’s surface with these 6 zit-popping tips!
Preventing blobs and zits on 3D prints is easy with these 6 tips! For inquiries, you can contact us by chat, phone, and email.